Securing Self-Hosted Apps with Cloudflare Tunnel and Nginx Proxy Manager


Intro/Fluff:
Self-hosting services is one of the most rewarding parts of running a home lab. You gain full control of your infrastructure, learn real skills, and can build services exactly the way you want them.
The downside?
Exposing services to the internet introduces real security concerns.
In my previous configuration, I had ports 80 (HTTP) and 443 (HTTPS) open on my firewall and forwarded to an instance of Nginx Proxy Manager running in a DMZ VLAN. This instance handled SSL certificates and reverse proxying for my sites.
Unfortunately—or perhaps fortunately—I recently relocated my homelab to my brother’s house as I prepare to move internationally. I no longer even own my own home!
To avoid rebuilding my entire network stack, I opted to place my router behind my brother’s router. This created a classic double NAT situation. I also didn’t want to start opening ports for things like this website on my brother’s firewall. It simply wasn’t worth the risk or the hassle of re-architecting his otherwise standard home network.
So I started doing some research and stumbled across a fantastic video by fellow homelabber Thomas Wilde, where he demonstrates using Cloudflare Tunnel with cloudflared.
I was already using Cloudflare as my DNS provider to take advantage of some of their protection features like region-based IP filtering (sorry Belarus, China, and Russia—I get way too many probes from your part of the world!) and DDoS protection. From there it felt natural to explore more of their tools, and setting up a Cloudflare Tunnel turned out to be surprisingly simple.
I highly recommend watching Thomas's video, but I’ll also walk through the steps I took and a few additional considerations I ran into along the way.
P.S. After writing this, it feels a little like an ad for Cloudflare. I promise it isn’t. I’m not paid or sponsored, and I don’t even use Cloudflare professionally. They just happen to have a great set of tools for us homelabbers and I wanted to share the knowledge!
(Though if you're reading this, Cloudflare… I could be tempted. 😆)
The How-To
Prerequisites
Before we begin, you'll need the following:
- A domain registered with Cloudflare
- A web service you want to expose externally (for example, your own website like this one)
- Docker installed
- Nginx Proxy Manager running (mine runs in Docker)
- An internal DNS solution to take advantage of Nginx Proxy Manager’s SSL and reverse proxy capabilities
For internal DNS, I use AdGuard Home and redirect all requests for *.thehelplessdesk.com internally to my Nginx Proxy Manager instance.
Creating the Tunnel
- Log into the Cloudflare dashboard.
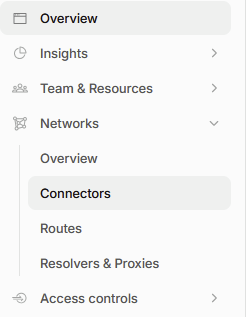
- Navigate to Zero Trust from the left-side menu.

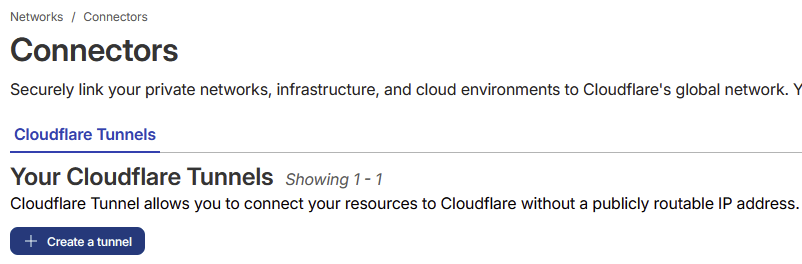
- Expand Networks and select Connectors
- Select Create a Tunnel
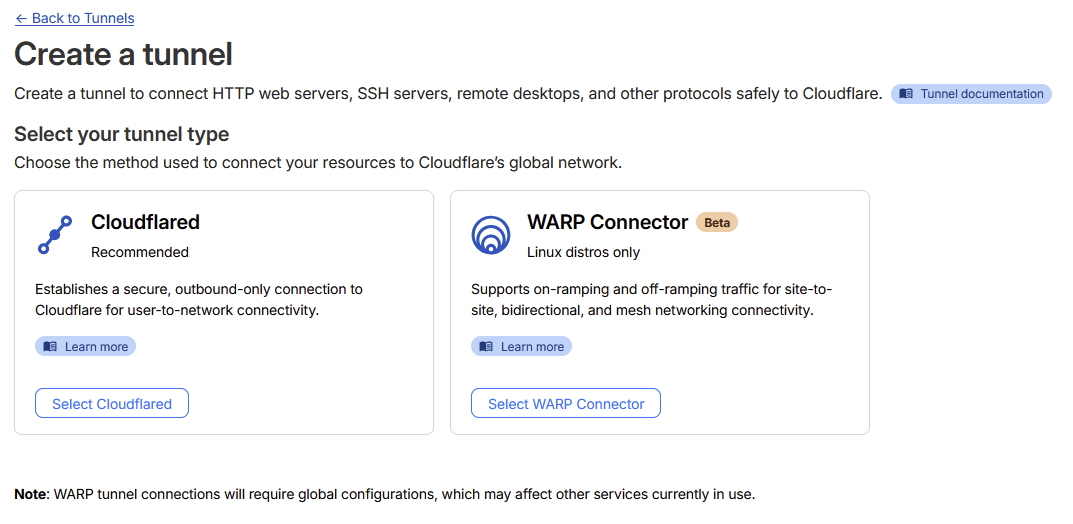
- Select Cloudflared for your tunnel type.
- Give your tunnel a name and click Save Tunnel.

- Next, Cloudflare will ask where you want to install the connector.
For this guide, we’ll use Docker.
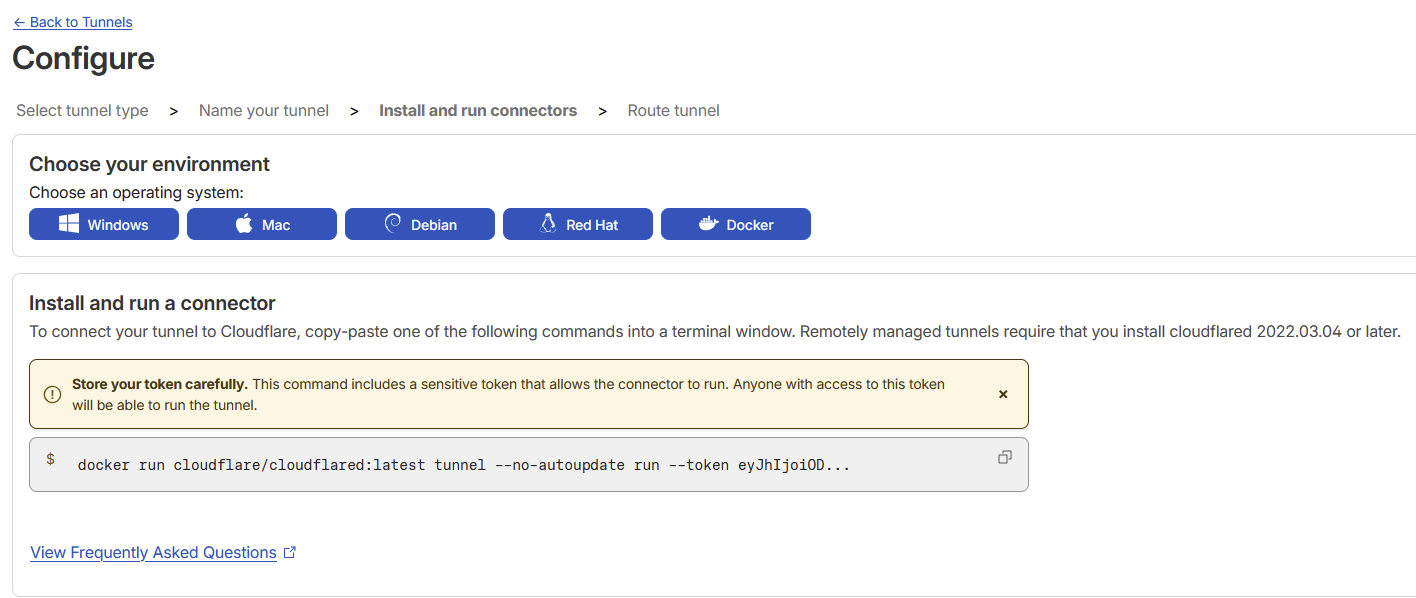
- Cloudflare provides a Docker command you can run directly, but if you prefer using Docker Compose, here is an example configuration:
services:
  cloudflare-tunnel:
    image: cloudflare/cloudflared:latest
    container_name: cloudflare-tunnel
    restart: unless-stopped
    command: tunnel --no-autoupdate run --token <your-cloudflared-token>
IMPORTANT: Replace <your-cloudflared-token> with the token provided by Cloudflare And of course... Do not share your token 🔒
Configuring the Public Hostname
On the next page:
- Enter the subdomain (if needed).
- Select the domain registered with Cloudflare.
In my case, I used the root domain for this site: thehelplessdesk.com
So no subdomain was entered.
You can also define a default path if you want users to land on a specific page automatically.
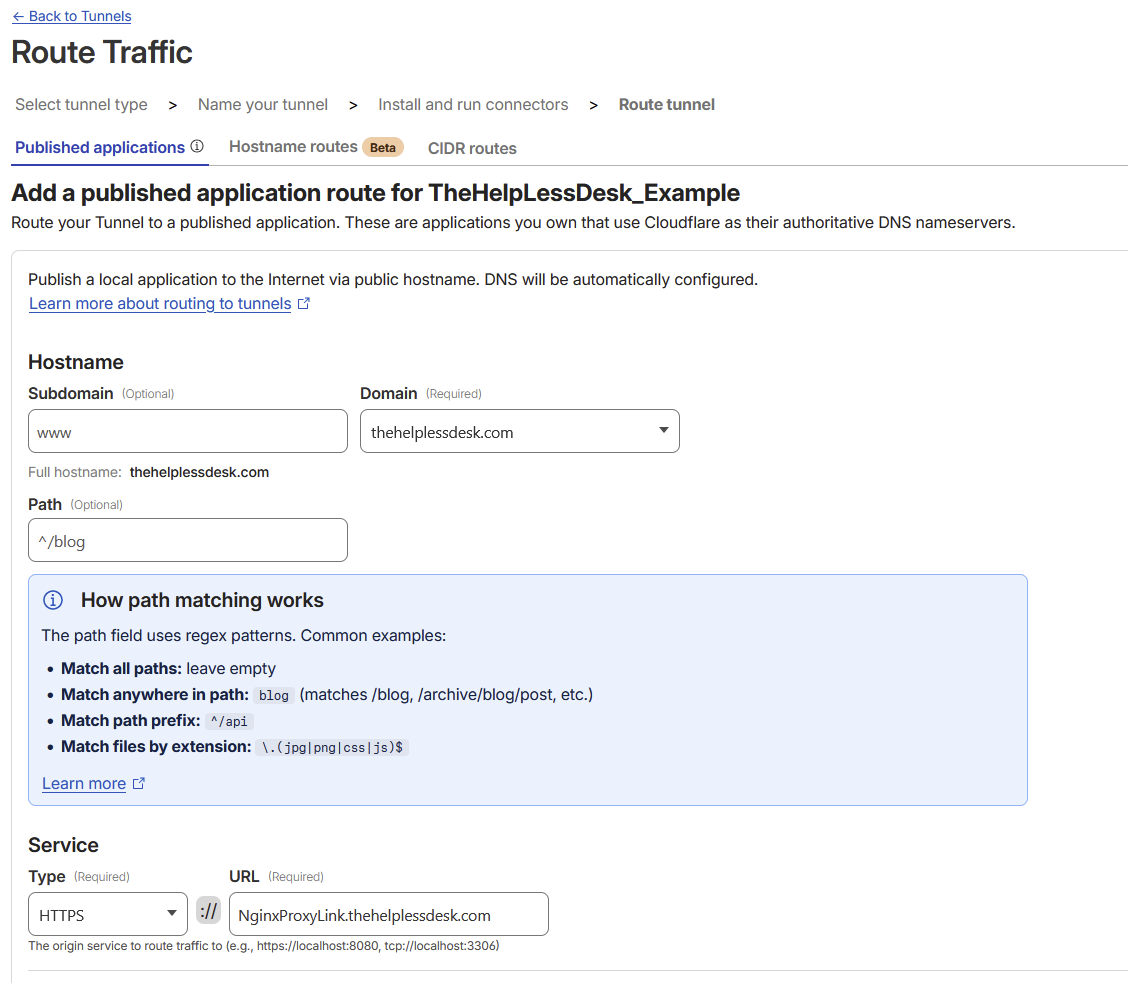
Under the Service section:
- Select the service type (usually HTTPS).
- Enter the internal URL that the tunnel should forward traffic to.
In my case, I pointed the tunnel to the internal HTTPS address of my site so that traffic still passes through Nginx Proxy Manager and benefits from my existing SSL configuration.
Whatever address you configure must be reachable by the cloudflared container.
A quick way to test this is by entering the container and verifying DNS resolution or connectivity.
Testing the Tunnel
Once everything is saved, if all goes well you should now be able to access your site externally—even though no ports are open on your router.
🎉 Success! 🎉
Some sites may require additional configuration.
In my case, I needed to enable TLS No Verify under the TLS settings. I use a wildcard certificate for *.thehelplessdesk.com, which technically does not match the root domain thehelplessdesk.com.
Once TLS verification was disabled, Cloudflare was able to connect successfully.
For other services using subdomains (for example https://it-tools.thehelplessdesk.com), this adjustment was not necessary because the wildcard certificate is completely valid for subdomains of *.thehelplessdesk.com
But Wait... There's More
You might be thinking:
I thought this article was about securing self-hosted apps?
You're right, and this is where things get interesting.
The platform running this website is Ghost, which includes an administrative interface used to write and manage posts.
That admin interface lives at: /ghost
Previously, I used custom rules in Nginx Proxy Manager to block external access to this page.
However, with the Cloudflare Tunnel now acting as the entry point, those rules no longer applied the same way.
This is where Cloudflare Access becomes extremely useful.
Protecting the Admin Pages with Cloudflare Access
Cloudflare allows you to place authentication in front of any application exposed through your tunnel.
NOTE: You could use this to protect any of your services you decide to make externally available via your Cloudflare Tunnel. This is just one example!
To configure this:
- Return to the Zero Trust dashboard.
- Expand Access Controls.
- Select Applications.
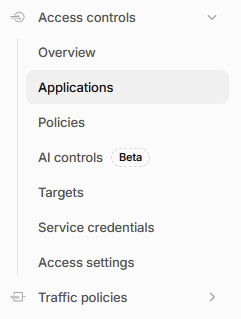
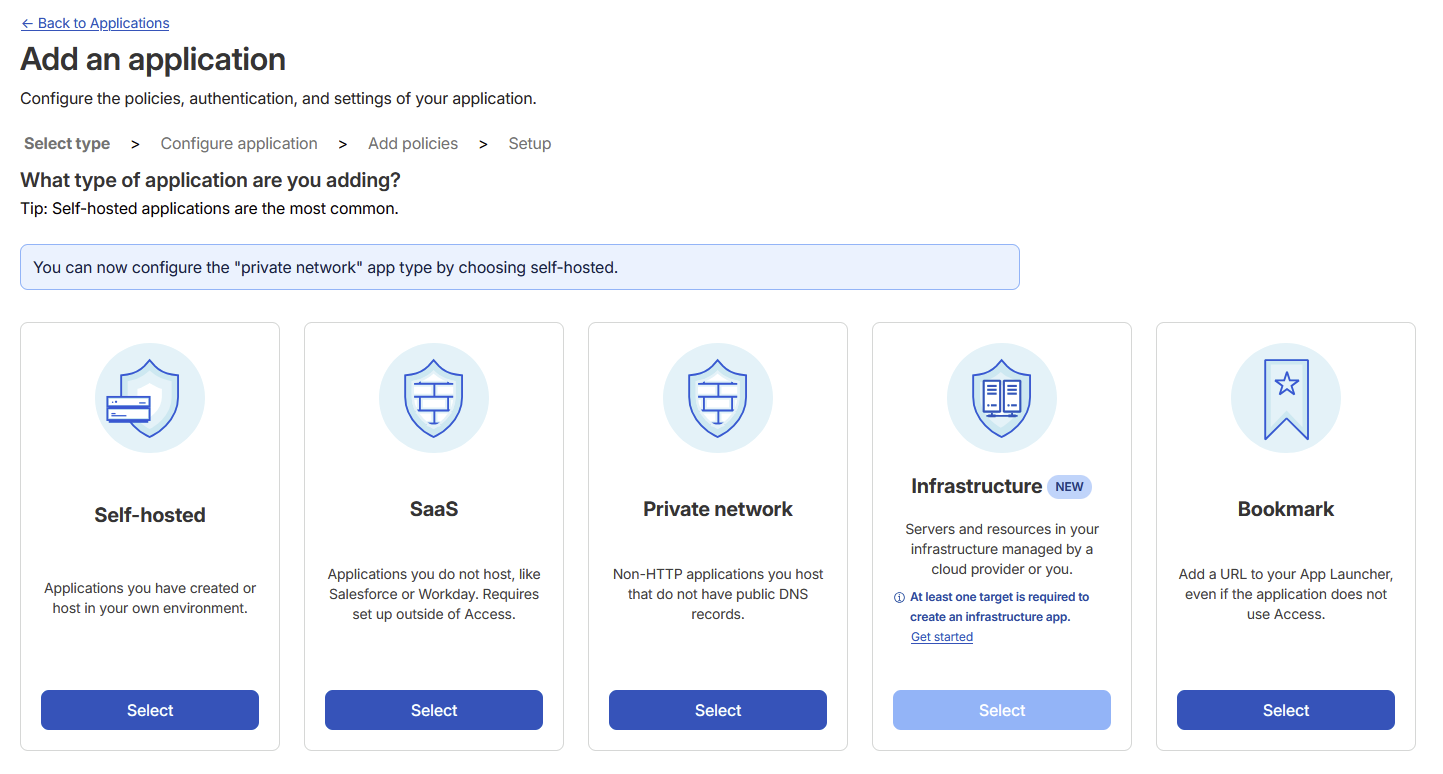
- Select Add Application.

- Select Self Hosted.
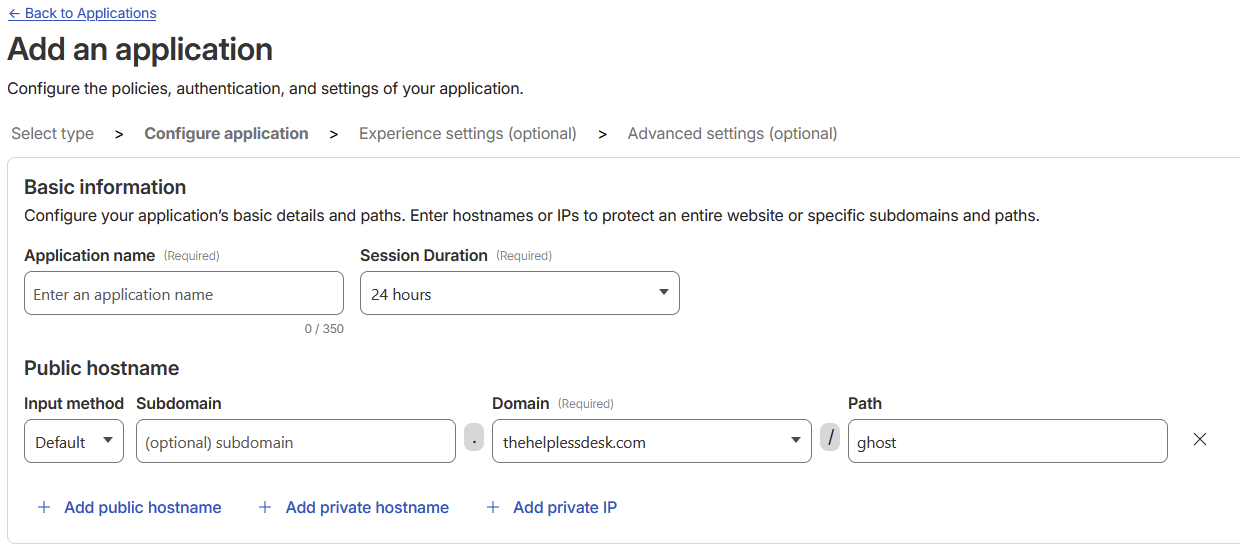
- Provide:
- An application name
- A session duration
- Either a public hostname, private hostname or private IP
In my case, I protected the Ghost admin interface located at:/ghost
Creating an Access Policy
Next you'll define an Access Policy, which determines who can reach the application.
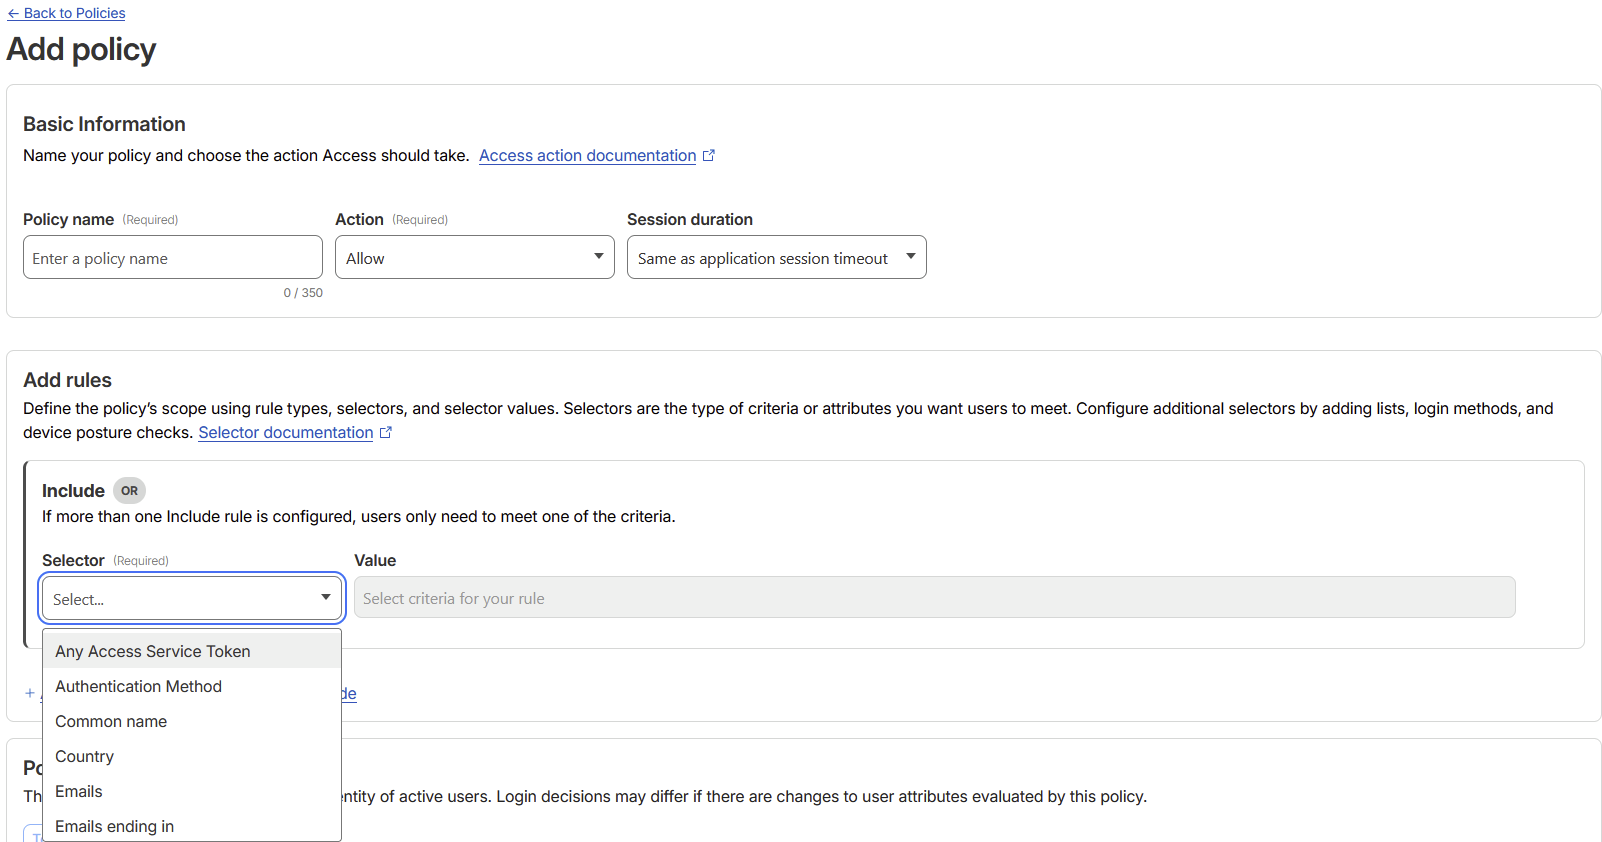
You can create this during the application wizard or from the Policies section under Access Control.
Each policy requires:
- a name
- an action (Allow or Block)
- rules defining who is allowed
By default, everything is denied unless explicitly allowed.
Refer to the 'Access action documentation' for additional information.
Identity Providers
Cloudflare Access can integrate with identity providers such as:
- GitHub
- Microsoft
- Okta
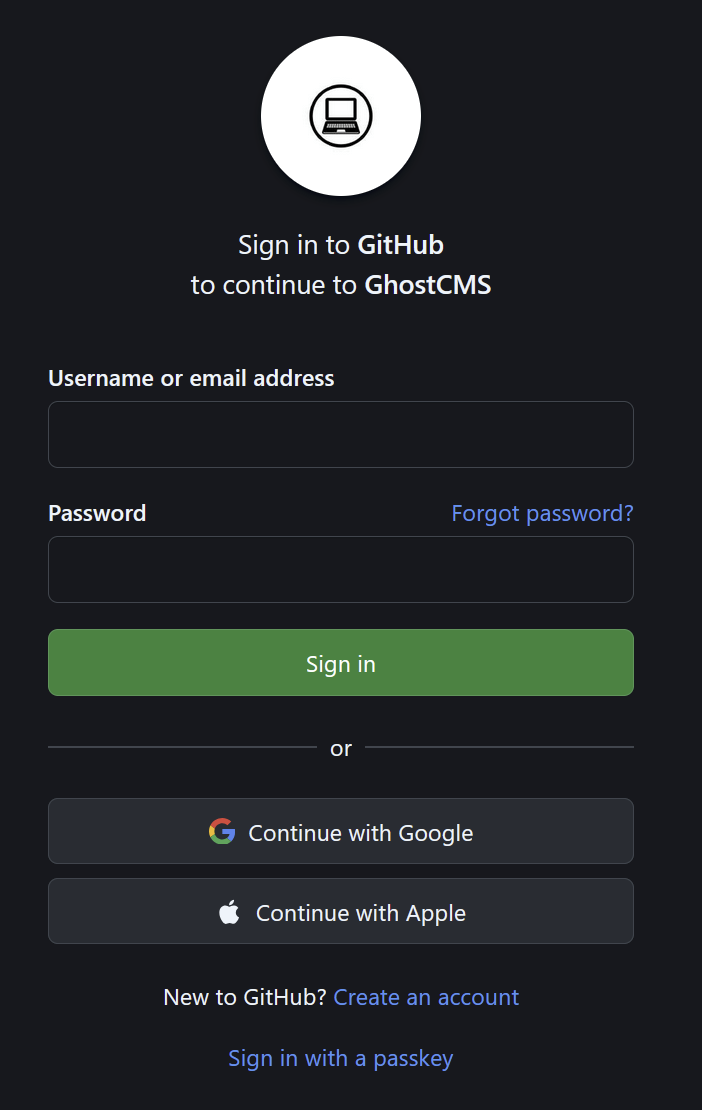
I personally chose GitHub.
Once configured, Cloudflare requires users to authenticate before accessing the protected path.
You can even restrict access to:
- specific GitHub users
- GitHub organizations
- specific email domains
Try it out! Go to https://thehelplessdesk.com/ghost and you'll be greeted with a request to log in via GitHub. Only approved users will be granted access to the path beyond /ghost so good luck trying to get in!
Final Thoughts
With the tunnel, access controls, and reverse proxy all working together, I now have a setup that:
- Works behind double NAT
- Requires no open ports
- Hides my homelab from direct internet exposure
- Protects sensitive admin interfaces
And best of all — it was surprisingly easy to implement.
If you made it this far, thank you for reading
UPDATE
After configuring email for this instance of Ghost I learned that the subscribe and user login features requires access to some read-only API features that are behind /ghost/api/content/ which as you might have noticed is behind the /ghost/ restriction we configured earlier.
To work around this I added an additional Application access policy in Cloudflare for the following
Path: /ghost/api/content/
Action: Bypass
Include: Everyone
Now, access to the admin portal is still protected but the public read-only api calls are accessible enabling users to interact with the Subscribe and User Login features. I hadn't noticed this on my initial configuration as I was configuring Ghost via my VPN and thus was not relying on Cloudflare protection to test these features.